Sink Your Teeth into this Decadent Treat!
If you’ve never savored a bite of Oreo cheesecake, you’re in for a treat! This isn’t just any dessert; we’re talking about The Ultimate No Bake Oreo Cheesecake Experience. Imagine a creamy filling that melts in your mouth, nestled in a crunchy Oreo crust. Best part? No baking required! Sounds dreamy, right? 💭
Why Make This Recipe
Why scramble around the kitchen when you can whip up something fabulous with ease? Here are a few reasons to adore this recipe:
- Speedy Satisfaction: You’ll have this cheesecake chilling in no time, leaving you more moments to kick back and relax.
- Zero Cleanup Drama: Seriously, who doesn’t love a one-pan wonder? Just mix, press, chill, and serve—easy peasy!
- Family-Friendly Fun: Kids and adults alike will devour this sweet delight. Plus, they can help crush the Oreos! Messy? Maybe. Fun? Absolutely!
Ingredients
You don’t need fancy stuff — just these basics!
- 70 Oreo chocolate cookie wafers (wafers from 35 cookies, filling removed & discarded)
- 7 tablespoons unsalted butter (melted)
- ¼ cup lukewarm water
- 1 packet unflavored powdered gelatin
- 2 8-ounce packages cream cheese (at room temperature)
- 1 cup sour cream (at room temperature)
- ⅛ teaspoon kosher salt
- 1 ½ cups confectioners’ sugar (sifted)
- 18 Oreo cookies (gluten-free if necessary)
- 5 Oreo cookies (broken or cut into quarters)
- Fresh whipped cream
Directions
Let’s get this deliciousness rolling! Follow these simple steps:
- Make the crust: Crush Oreo wafers, mix with melted butter, and press into a pan.
- Make the filling: In a bowl, combine cream cheese, sour cream, confectioners’ sugar, salt, and gelatin-water until creamy. Fold in the chopped Oreos for that extra goodness.
- Chill the cheesecake: Pour the creamy filling over the crust and pop it in the fridge for at least 4 hours—that’s right, patience is key!
- Serve: Top with lush fresh whipped cream and sprinkle extra Oreo pieces on top. Yum!
How to Make The Ultimate No Bake Oreo Cheesecake Experience (Overview)
Ok, let’s break this down in a super-friendly way:
- Crush those Oreos for the crust—no need to pull out a fancy food processor; a good old zip-top bag and a rolling pin work wonders.
- Mix your filling until it’s smooth and creamy. Be sure to fold in those chopped Oreos for added crunch in each bite!
- Chill like a pro! The longer it sits in the fridge, the better it gets. Try to hold off for a full 4 hours—though I know it’s tough!
- When you serve, go wild with the whipped cream on top and sprinkle those extra Oreos for a showstopper!
How to Serve The Ultimate No Bake Oreo Cheesecake Experience
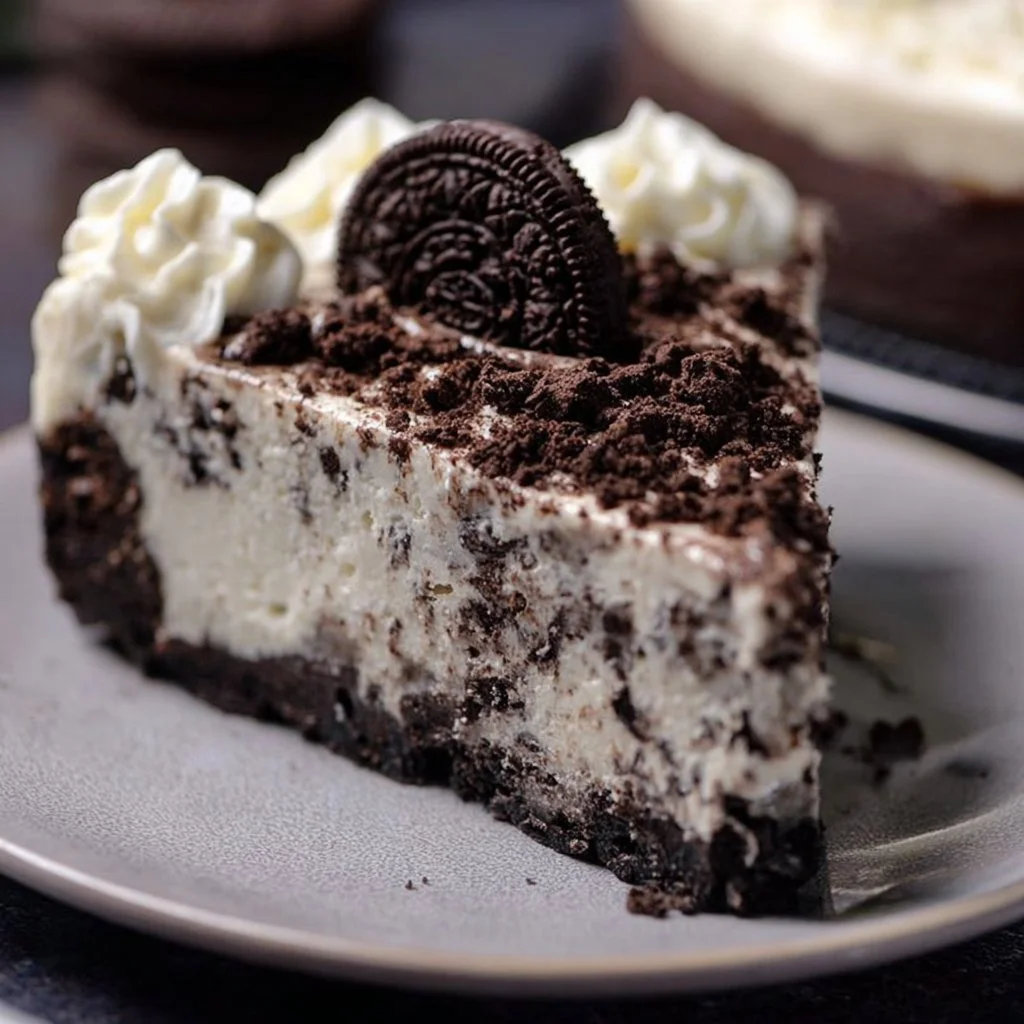
Serve this cheesecake chilled and watch it become the star of your dessert table. Imagine thick slices of creamy white cheesecake contrasted against the dark cookie crumbs, with swirls of fluffy whipped cream adding a touch of elegance. You can even add some chocolate syrup or fresh berries on the side for a pop of color and additional flavors. Just don’t be surprised when it disappears quickly!
How to Store The Ultimate No Bake Oreo Cheesecake Experience
Got leftovers? Lucky you! Keep this cheesecake in the fridge, covered. It stays fresh for up to 5 days (if it lasts that long!). Plan on saving some for later? You can also freeze it for up to 3 months. Just slice it and wrap it in plastic wrap before freezing. Simply thaw in the fridge before serving—voilà!
Tips to Make The Ultimate No Bake Oreo Cheesecake Experience
Here are a few insider tricks for ultimate cheesecake perfection:
- Cream Cheese Temperature: Let the cream cheese come to room temperature; it makes mixing a breeze!
- Gelatin Tip: Don’t skip the gelatin—it helps the cheesecake set beautifully.
- Oreo Variations: Try using different flavored Oreos for a fun twist—red velvet, mint, or even peanut butter!
- Make sure to sift your confectioners’ sugar to avoid lumps in that creamy filling.
Variation
Feeling adventurous? Here are some easy tweaks to jazz up your cheesecake:
- Vegan Version: Swap cream cheese for vegan cream cheese and sour cream for coconut cream.
- Flavor Infusions: Add some espresso powder for a mocha twist, or mix in citrus zest for a refreshing hint of lemon or orange.
FAQs
- Can I make this cheesecake ahead of time? Absolutely! Make it 1-2 days ahead and let it chill in the fridge.
- What can I use instead of gelatin? You can use agar-agar as a vegan alternative to gelatin.
- How do I store leftovers? Keep any leftover cheesecake in the fridge for up to 5 days, or freeze slices for up to 3 months!
Indulge in a creamy slice of joy with The Ultimate No Bake Oreo Cheesecake Experience—trust me, it’s a win-win every time! 📌 Pin this recipe for your next cozy dinner night!
No Bake Oreo Cheesecake
Ingredients
Method
- Crush the Oreo wafers and mix them with the melted butter. Press the mixture into a pan to form the crust.
- In a bowl, combine the cream cheese, sour cream, confectioners’ sugar, salt, and softened gelatin dissolved in lukewarm water until smooth and creamy.
- Fold in the chopped Oreo cookies into the filling mixture.
- Pour the filling over the crust and chill in the refrigerator for at least 4 hours.
- Before serving, top with fresh whipped cream and sprinkle the extra Oreo pieces on top.