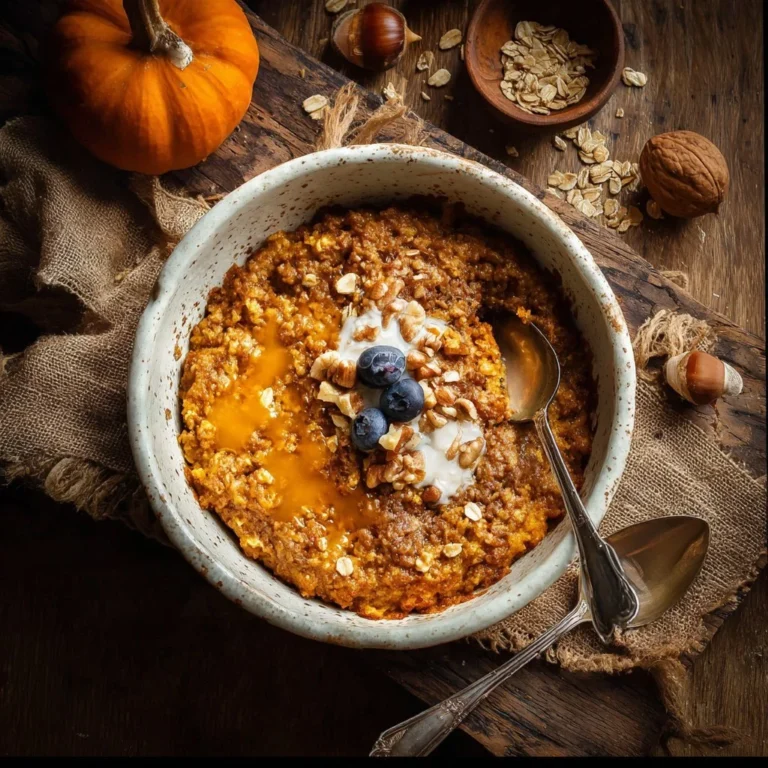
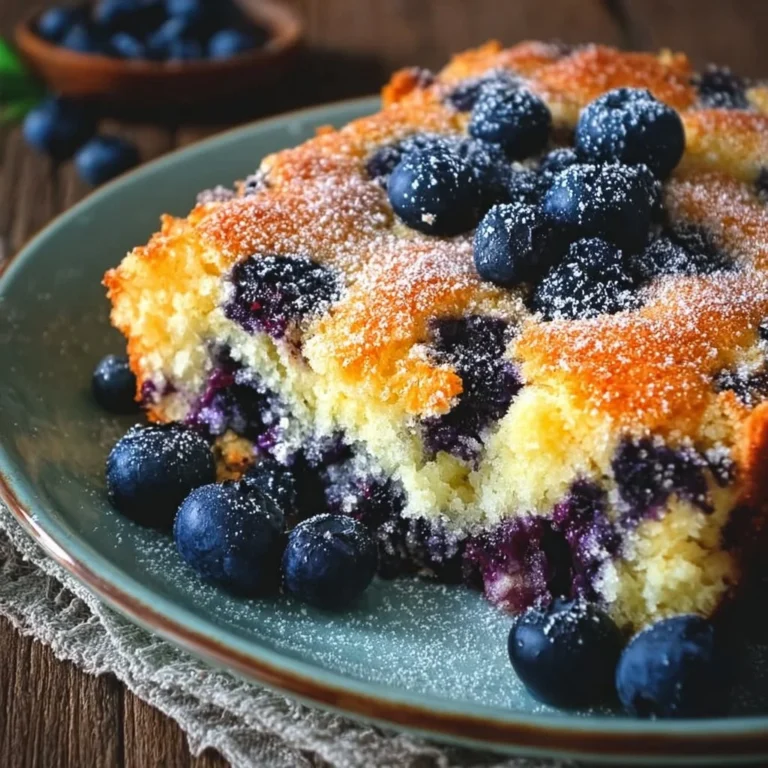
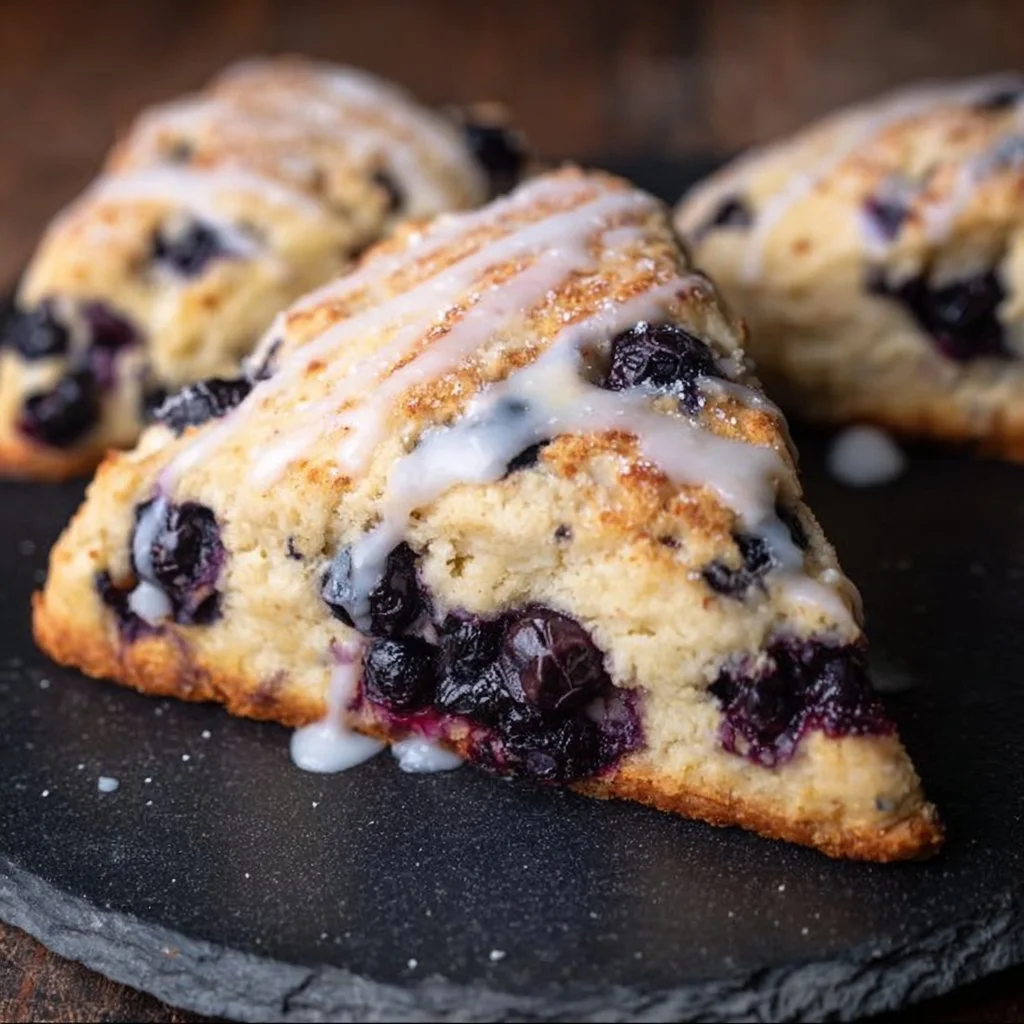
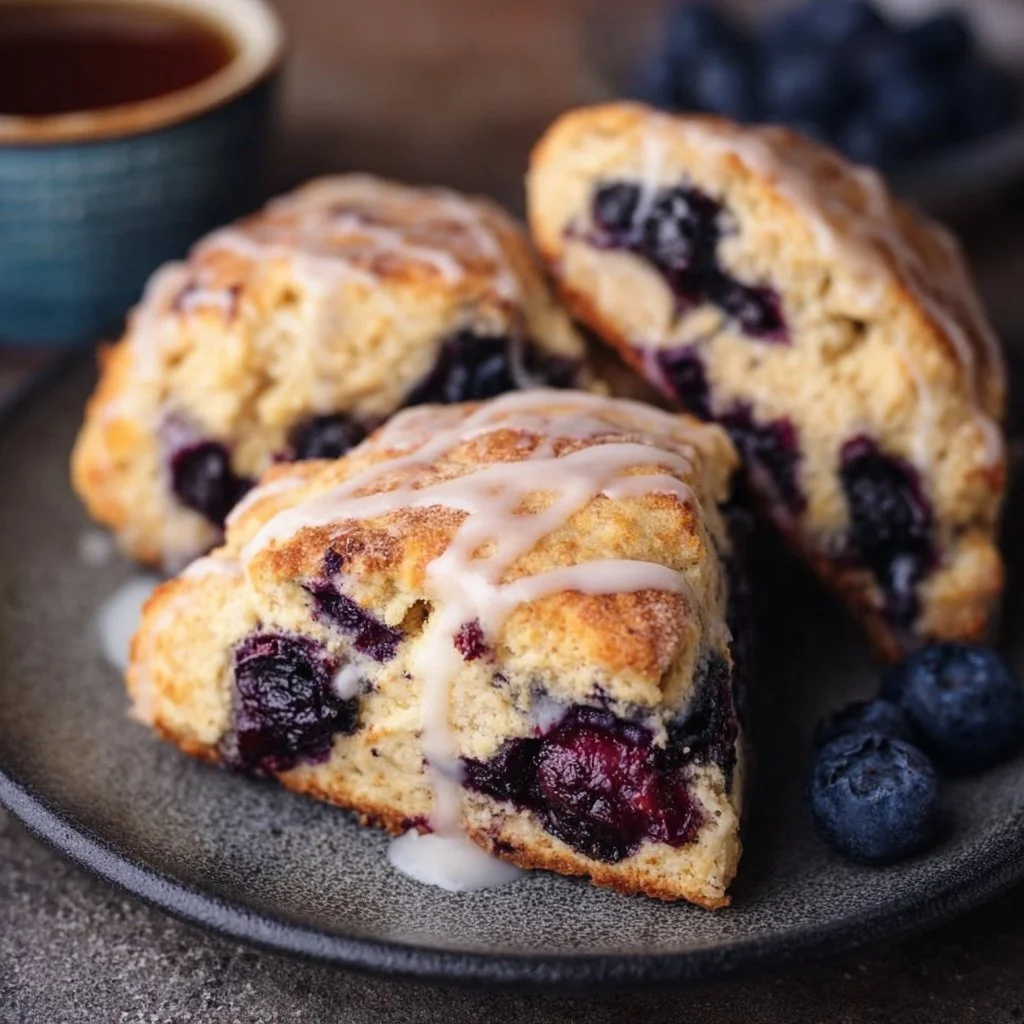
A Burst of Blueberry Bliss in Every Bite!
Ever thought about how a fresh batch of blueberry scones could brighten your day? Imagine fluffy, warm scones that fill the kitchen with the sweet aroma of baked goods and zesty lemon. These Gluten Free Blueberry Scones are not just any scones; they’re an easy-to-make delight that will have everyone asking for seconds. Perfect for breakfast or a cozy afternoon snack, this recipe brings joy to any occasion.
Why Make This Recipe
There are countless reasons to fall in love with this recipe!
- Easy Cleanup: You’ll spend more time indulging than scrubbing pots and pans. Just one bowl and a baking sheet – famous last words, right?
- Family-Friendly: Kids will absolutely adore “helping” with these scones. Just watch out for the flour dust clouds!
- Quick and Delicious: You can whip these up in less than an hour—ideal for unexpected guests or a last-minute treat.
Ingredients:
You don’t need fancy stuff—just these basics!
- 3 1/2 cups all-purpose gluten-free flour blend (plus more for sprinkling)
- 2 teaspoons xanthan gum
- 4 teaspoons baking powder
- 1/3 teaspoon baking soda
- 3/4 teaspoon kosher salt
- 3/8 cup granulated sugar
- Freshly grated lemon zest from 1 medium lemon
- 8 tablespoons unsalted butter (cut into a 1/2-inch dice and chilled)
- 1 3/4 cups fresh blueberries (or frozen)
- 1 1/4 cups buttermilk
- 1 tablespoon freshly squeezed lemon juice
- 4 tablespoons honey
- Cream (for brushing, optional)
- Coarse sugar (for sprinkling, optional)
Directions:
Follow these simple steps, and you’ll be on your way to scone heaven!
- Preheat your oven to 400°F and line a rimmed baking sheet with unbleached parchment paper.
- In a large bowl, combine the flour, xanthan gum, baking powder, baking soda, salt, granulated sugar, and lemon zest. Whisk well.
- Add the chilled, chopped butter to the dry ingredients, tossing to coat and flatten each chunk of butter with your fingers.
- Prepare your blueberries, cutting any large ones in half before tossing them into the mixture.
- Make a well in the center and pour in the buttermilk, lemon juice, and honey. Mix gently until the dough comes together. If it’s too sticky, press with floured hands until it holds.
- Turn out the dough onto plastic wrap and shape it into a 6-inch disk, about 1 inch thick. Wrap loosely and chill in the freezer for about 10 minutes.
- Remove from the freezer, unwrap, and sprinkle with about 1 teaspoon of flour.
- Cut the dough into 8 triangles using a sharp knife and place the wedges 2 inches apart on the baking sheet. Brush with cream and sprinkle with sugar if desired.
- Bake for about 20 minutes, until puffed and golden.
- Allow to cool for 10 minutes before serving.
How to Make Gluten Free Blueberry Scones (Overview)
Making these scones is as simple as it gets!
- Mix the dry ingredients first, and then fold in the cold butter. Trust me, your scones will thank you for the cold butter!
- Prepare your blueberries before they go into the mix; cutting them helps distribute their flavor evenly.
- Chill the dough: this helps prevent the scones from flattening out in the oven. A small step for a glorious, fluffy finish!
- Bake and enjoy: the waiting game is hard, but the golden, aromatic outcome makes it all worth it!
How to Serve Gluten Free Blueberry Scones
These scones are gorgeous on their own, but they’re also perfect with a drizzle of honey or a pat of butter melting into the warm layers. Pair them with your favorite jam or a dollop of clotted cream for a touch of elegance! 🍯 Imagine breaking one open to see juicy blueberries bursting with flavor, their vibrant color against the golden crust—absolute bliss!
How to Store Gluten Free Blueberry Scones
You can keep these scones fresh for about 3 days in an airtight container at room temperature. Want to extend their life? Toss them in the freezer! They’ll last for up to 3 months. Simply reheat in the oven at 350°F for about 10-15 minutes when you’re ready for a treat.
Tips to Make Gluten Free Blueberry Scones
- Use cold ingredients: Keep your butter and buttermilk chilled, as warmer ingredients can lead to flat scones.
- Don’t overmix: Stir just until combined to keep these delights fluffy and light.
- Flour your hands if the dough gets sticky; it’s easier to handle that way.
- For an even richer taste, try adding a splash of vanilla to the buttermilk.
- If you like a hint of spice, consider a pinch of cinnamon in the dry mix!
Variation
Feeling adventurous? Swap out blueberries for raspberries or chop up some dark chocolate for a decadent twist! You could even make them vegan by using coconut oil instead of butter and plant-based milk.
FAQs
Can I make these scones ahead of time?
Absolutely! You can prepare the dough, shape it into triangles, and chill it. Bake them right before serving for the freshest taste.
What gluten-free flour blend should I use?
Look for blends containing xanthan gum for the best results; they mimic wheat flour pretty well.
Can I freeze baked scones?
Yes! Just make sure they’re fully cooled down before you wrap and freeze them. When you’re ready to enjoy, just reheat as mentioned above!
📌 Pin this recipe for your next cozy dinner night!
Gluten Free Blueberry Scones
Ingredients
Method
- Preheat your oven to 400°F and line a rimmed baking sheet with unbleached parchment paper.
- In a large bowl, combine the flour, xanthan gum, baking powder, baking soda, salt, granulated sugar, and lemon zest. Whisk well.
- Add the chilled, chopped butter to the dry ingredients, tossing to coat and flatten each chunk of butter with your fingers.
- Prepare your blueberries, cutting any large ones in half before tossing them into the mixture.
- Make a well in the center and pour in the buttermilk, lemon juice, and honey. Mix gently until the dough comes together.
- If the dough is too sticky, press with floured hands until it holds.
- Turn out the dough onto plastic wrap and shape it into a 6-inch disk, about 1 inch thick. Wrap loosely and chill in the freezer for about 10 minutes.
- Remove from the freezer, unwrap, and sprinkle with about 1 teaspoon of flour.
- Cut the dough into 8 triangles using a sharp knife and place the wedges 2 inches apart on the baking sheet.
- Brush with cream and sprinkle with sugar if desired.
- Bake for about 20 minutes, until puffed and golden.
- Allow to cool for 10 minutes before serving.