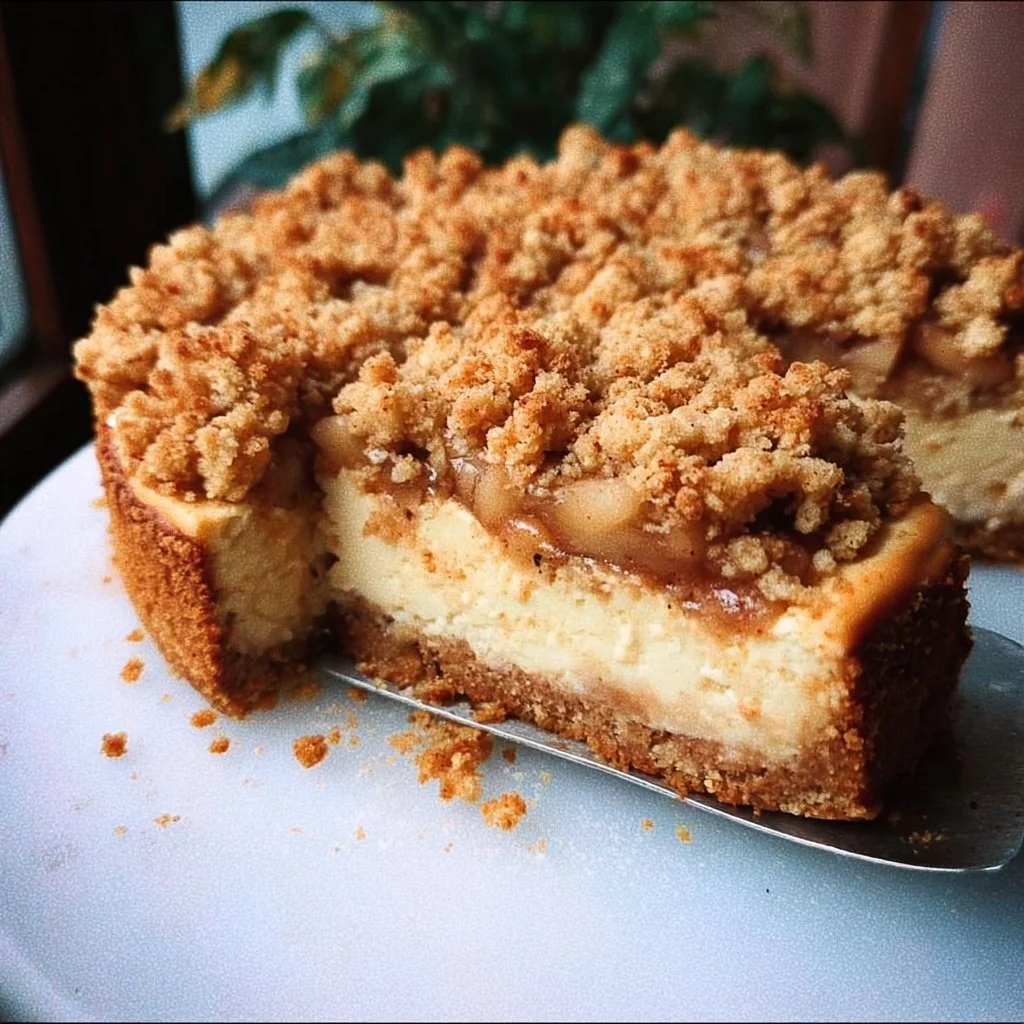
A Dreamy Dessert That Delivers
Ever bitten into a slice of Vegan Apple Crumble Cheesecake that makes your heart sing? If you haven’t, prepare yourself because this dessert is a symphony of fluffy cheesecake goodness and crumbly, spiced apples atop a deliciously buttery crust. Imagine the aroma wafting through your kitchen — it’s enough to make anyone swoon! Best part? It’s crazy easy to whip up, so you can impress your friends and family without breaking a sweat.
Why Make This Recipe
Why is this Vegan Apple Crumble Cheesecake the dessert of your dreams? Here’s the scoop:
- Simple Ingredients: You don’t have to go on a wild goose chase for fancy ingredients. Everything is easy to find and mostly pantry staples!
- Stress-Free Cleanup: It’s mostly a one-pan endeavor. Who has time for a mountain of dishes? Not you!
- Crowd-Pleaser: Whether you’re vegan or not, everyone will be fighting for seconds. Trust me; you’ll be the dessert hero of the night!
Ingredients
You don’t need fancy stuff — just these basics!
- 1 cup cashews, soaked
- 1 block firm tofu, drained
- 1/2 cup maple syrup
- 1 tsp vanilla extract
- 1/2 cup coconut cream
- 2 cups apples, peeled and sliced
- 1 tsp cinnamon
- 1 cup Biscoff cookies, crushed
- 1/4 cup coconut oil, melted
Directions
Follow these easy steps to sweet, creamy perfection:
- Preheat the oven to 350°F (175°C).
- In a blender, combine soaked cashews, tofu, maple syrup, vanilla extract, and coconut cream. Blend until smooth and creamy.
- In a bowl, mix the crushed Biscoff cookies with melted coconut oil to form the crust, then press it into the bottom of a springform pan.
- In another bowl, toss the sliced apples with cinnamon.
- Pour the cashew-tofu mixture over the crust, then layer the spiced apples on top.
- Bake for 45-50 minutes, or until the cheesecake is set.
- Allow it to cool, then refrigerate for a few hours before serving. Enjoy!
How to Make Vegan Apple Crumble Cheesecake (Overview)
Making this cheesecake is as easy as pie (wait, we’re making cheesecake here!). Start with some soaking cashews until they’re soft and ready to blend. Mix everything in the blender until it’s creamy, and don’t forget to prepare that luscious Biscoff crust. Add your delicious spiced apples, and then it’s time for the oven magic. Pro tip: Let it chill for a few hours — it enhances the flavor (and your patience!). 🤤
How to Serve Vegan Apple Crumble Cheesecake
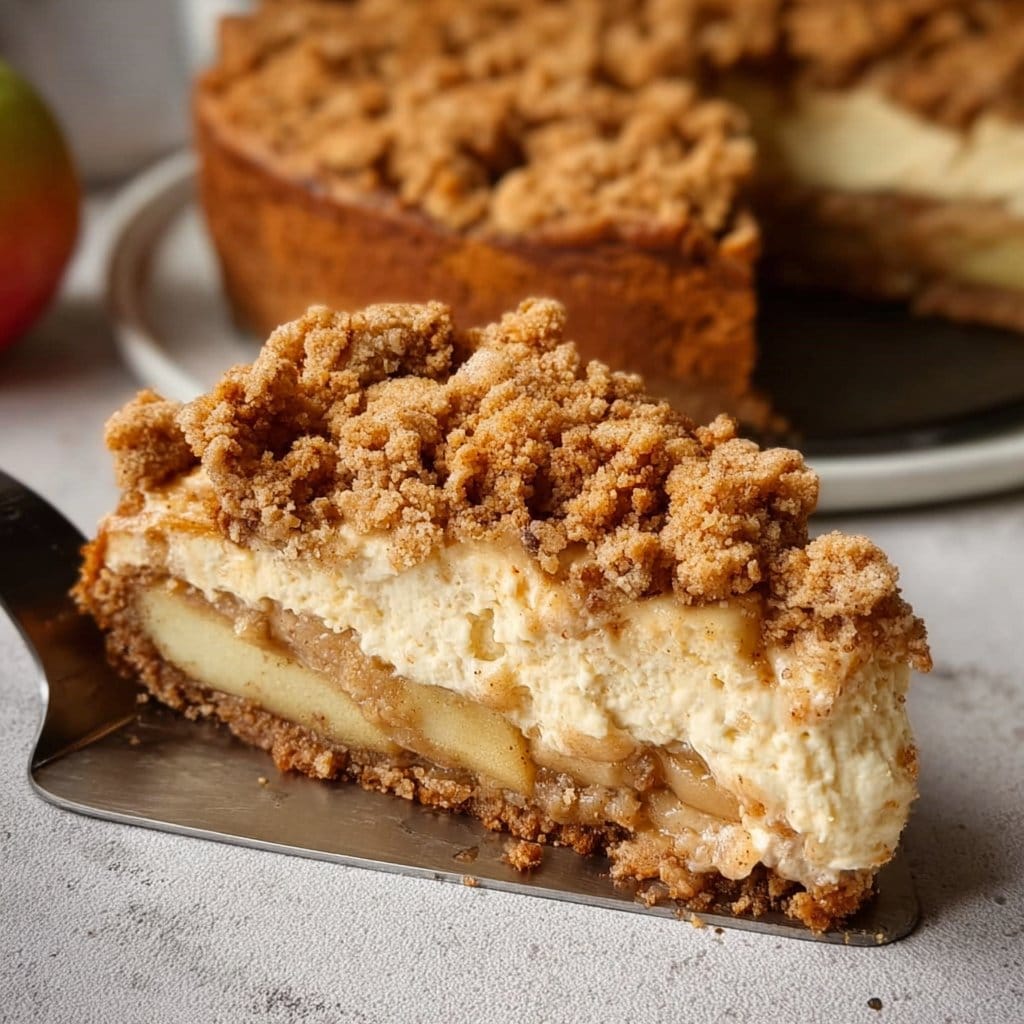
This Vegan Apple Crumble Cheesecake is a showstopper on its own, but for a delightful twist, serve it with a drizzle of vegan caramel sauce or a dollop of coconut whipped cream. Picture that creamy cheesecake contrasted with the crunchy topping and the sweet, aromatic apples. It’s a visual feast that your taste buds will thank you for!
How to Store Vegan Apple Crumble Cheesecake
Worried about leftover cheesecake? Don’t be! This beauty will last in the fridge for about 5-7 days. If you want to make it ahead of time, just pop it in the freezer, where it keeps well for up to 2 months. When ready to enjoy, let it defrost in the fridge overnight — no rushing here!
Tips to Make Vegan Apple Crumble Cheesecake
- Soak Your Cashews: The softer they are, the smoother your cheesecake will be.
- Experiment with Apples: Use a mix of tart and sweet varieties for complex flavors.
- Crush Those Cookies: A food processor makes it easy, but a good old-fashioned rolling pin works too!
Variation
Want to mix it up? You can add some chopped nuts for extra crunch, or throw in a handful of raisins or cranberries for added sweetness. Feeling adventurous? Swap the Biscoff cookies for Oreos for a chocolatey twist. 😋
FAQs
1. Can I use a different sweetener instead of maple syrup?
Absolutely! Agave syrup or brown sugar works just as well.
2. How do I ensure the cheesecake doesn’t crack?
Make sure not to overmix and keep the temperature moderate while baking.
3. Can I freeze this cheesecake?
Yes! Just wrap it well, and it’ll be a delicious treat waiting for you in the freezer.
Remember, this Vegan Apple Crumble Cheesecake is more than just a dessert; it’s a cozy hug for your taste buds!
📌 Pin this recipe for your next cozy dinner night!